
In the ever-evolving landscape of app development, efficiency and creativity reign supreme. With the emergence of AI-driven tools like Copilot & ChatGPT, developers are gaining new capabilities that streamline the coding process and foster innovation. Let’s dive into the exciting world of AI generated help and its integration into Visual Studio and Power Apps Studio, unlocking a new era of productivity and collaboration.
Introducing Copilot: AI-Powered Coding Assistant
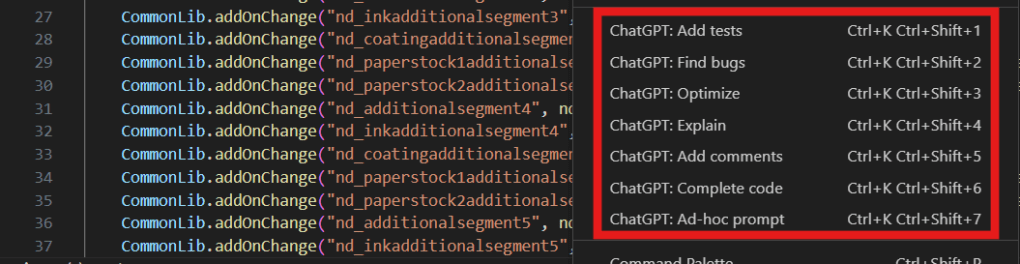
Copilot & ChatGPT, developed by OpenAI and Microsoft, is an AI-powered assistant trained on vast repositories of code, capable of generating suggestions, completing code snippets, and providing context-aware recommendations in real-time. By leveraging machine learning algorithms, Copilot & ChatGPT augments developers’ capabilities, enabling them to write code faster, reduce errors, and explore new ideas with confidence.
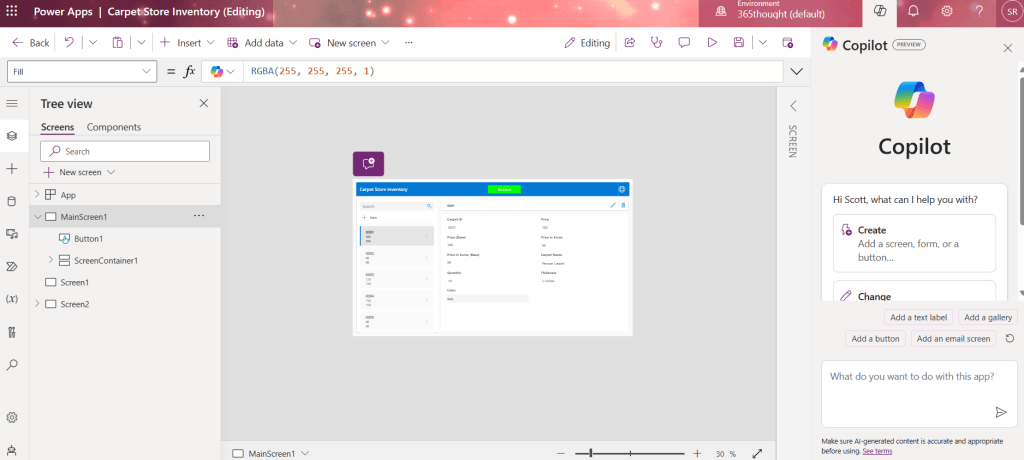
Copilot in Power Apps Studio: Revolutionizing App Development
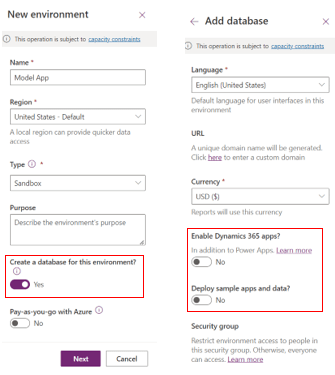
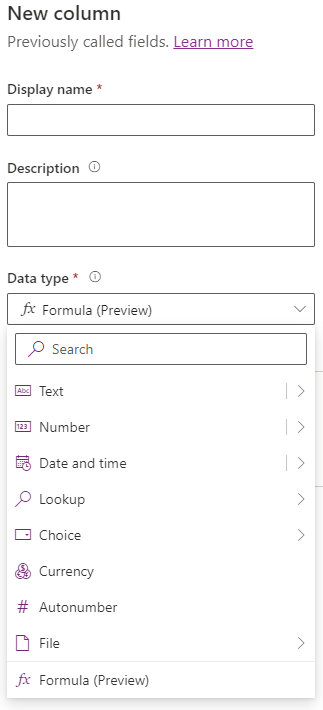
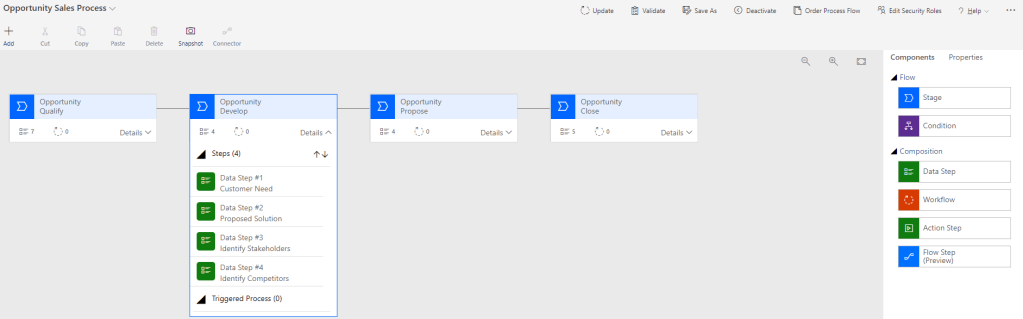
The integration of Copilot into Power Apps Studio marks a significant milestone in the evolution of low-code development. By harnessing the power of Copilot, developers can now access intelligent code suggestions and auto-completions directly within the Power Apps Studio environment, accelerating the app development lifecycle and empowering users of all skill levels to build powerful applications with ease.
Key Benefits of Using ChatGPT in Visual Studio

1. Accelerated Development:
ChatGPT streamlines the coding process by providing context-aware suggestions and auto-completions, enabling developers to write code faster and more efficiently. Whether it’s generating boilerplate code, completing function parameters, or suggesting alternative implementations, ChatGPT accelerates development and reduces the time spent on repetitive tasks.
2. Enhanced Productivity:
By automating mundane coding tasks and offering intelligent recommendations, ChatGPT frees up developers’ time to focus on higher-level problem-solving and creative thinking. This not only increases productivity but also fosters a more dynamic and collaborative development environment where ideas can flourish and innovation can thrive.
3. Quality Assurance:
ChatGPT’s AI-driven suggestions are based on vast repositories of code, ensuring that developers have access to best practices, coding conventions, and error-prevention techniques. This helps improve code quality and consistency across projects, reducing the risk of bugs and vulnerabilities and enhancing the overall reliability of Power Apps solutions.
4. Learning and Skill Development:
By working alongside ChatGPT, developers have the opportunity to learn new coding techniques, explore unfamiliar libraries, and experiment with advanced programming concepts. ChatGPT serves as a valuable learning tool, providing real-time feedback and guidance that empowers developers to expand their skill sets and grow professionally.
Real-World Applications of Copilot in Power Apps Studio
The versatility of Copilot & ChatGPT extends across various industries and use cases, revolutionizing the way organizations approach app development. Whether it’s building custom business applications, automating workflows, or integrating with external systems, Copilot & ChatGPT empowers developers to turn ideas into reality quickly and efficiently, driving digital transformation and accelerating innovation.
Conclusion
The integration of Copilot & ChatGPT into Power Apps Studio & Visual Studio represents a change in the way developers approach app development. By combining the power of AI with the simplicity of low-code development, Copilot & ChatGPT empowers developers to write better code, faster, and with greater confidence. Whether you’re a seasoned developer or a novice coder, Copilot & ChatGPT opens up new possibilities, propelling app development into the future and unlocking new levels of creativity and productivity.